


iPhone Disabled? Here’s What to Do Next

Updated: May 02, 2024
Fixing your disabled iPhone is easy, especially if your info is backed up to iTunes or iCloud.
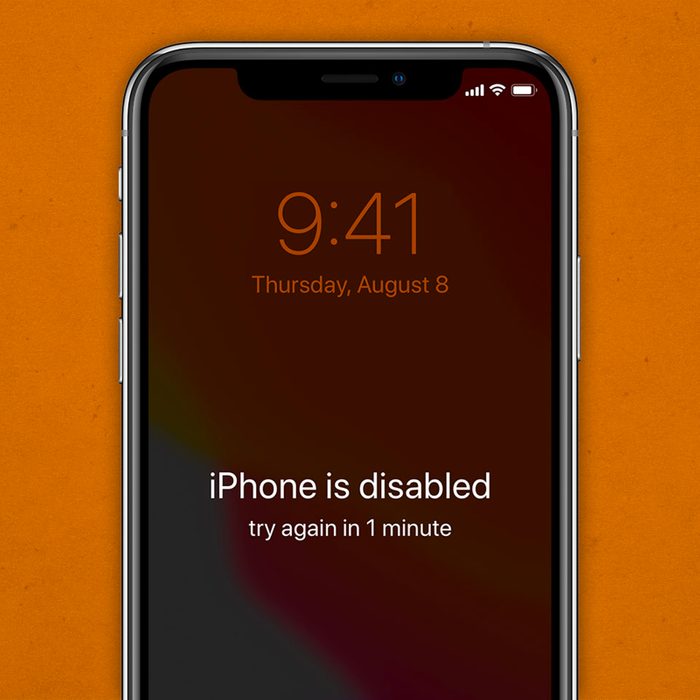
Passcode protection on an iPhone seems like a foolproof security feature—until you get locked out and receive the dreaded “iPhone disabled” message. Even the idea of a disabled iPhone causes people to panic, reducing us to primal fears: What if someone needs me and can’t get in touch? What if I have to call for help?
It’s no secret that we’ve become increasingly dependent on our iPhones, using them to order dinner, set up rides, communicate with friends and family, answer email when we’re on the move, and more. And while we’ve learned all sorts of iPhone hacks and iPhone tricks, many of us don’t know the basics, like how to fix a frozen iPhone or what to do with a disabled iPhone. Fortunately, there are several ways to remedy the situation if you find yourself staring at an “iPhone disabled” message.
Why is your iPhone disabled?
An iPhone disables after a number of failed passcode attempts, and this isn’t just because people forget their passwords. (Though you can also unlock an iPhone without a passcode.) Failed log-ins can happen when your children play with your phone or your device is in your pocket or bag.
After six unsuccessful attempts at entering the correct passcode, an iPhone disables for one minute. After the seventh attempt, it disables for five minutes; and after try number eight, it disables for fifteen minutes. On the tenth failed attempt, the iPhone will become permanently disabled.
Some people set their iPhones to erase after ten attempts, which is a helpful feature in the event of theft, but it’s not a great idea if you don’t regularly back up your phone. So let this be a good reminder to back up your iPhone to iTunes or iCloud.
What to do if your iPhone is disabled
You’ve just received the worrying “iPhone disabled” message. Now what? You’ll likely need to reset your iPhone to factory settings. If you’ve backed up your device, you can recover your information through iTunes or iCloud. (New to iCloud? Find out more about it here.)
If you haven’t backed it up, you can still go through the below steps to get your phone up and running, though you’ll probably lose your data. Still, a working iPhone is better than a disabled one! For both of these methods, you need a computer and USB cord.
How to restore your iPhone via iTunes
You can restore your information on a Mac or a PC. If you’re using a PC, make sure it’s running Windows 8 or later, and double-check that iTunes is installed.
Step 1
Open iTunes on your computer and get ready to connect your iPhone—but don’t connect just yet!
Step 2
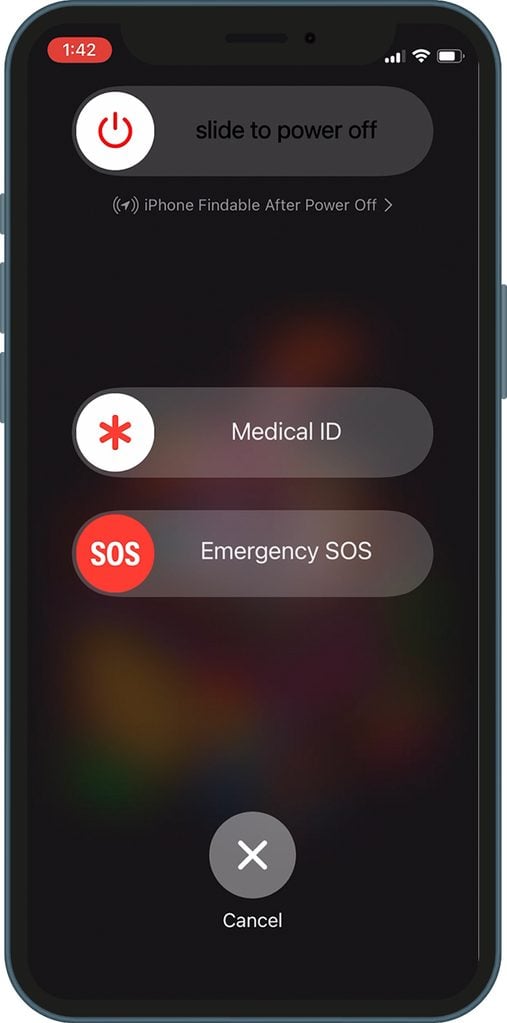
Power off your iPhone. Here’s how to do that, based on the model you have:
- iPhone 8, 8 Plus, X, and later, as well as iPhone SE (second and third generation): Press and hold both the side button and the volume down button until a bar stating “slide to power off” appears at the top of the screen.
- iPhone 7, 7 Plus, 6s, and 6: Press and hold the side button until the “power off” slider appears.
- iPhone SE (first generation), iPhone 5s, and earlier: Press and hold the top button until the “power off” slider appears.
Drag the slider to turn off your iPhone.
Step 3
Put your phone in recovery mode. Start by pressing the right button for your iPhone model:
- iPhone 8, 8 Plus, X, and later, as well as iPhone SE (second and third generation): Press and hold the side button.
- iPhone 7 and 7 Plus: Press and hold the volume down button.
- iPhone SE (first generation), 6s, and earlier: Press and hold the Home button.
While holding the correct button for your iPhone model, immediately connect your device to the computer. Don’t let go of the button!
Step 4

Keep holding the button until you see the recovery mode screen on your iPhone. Only then should you let go of the button. If you see the passcode screen, turn your iPhone off and start again.
Step 5
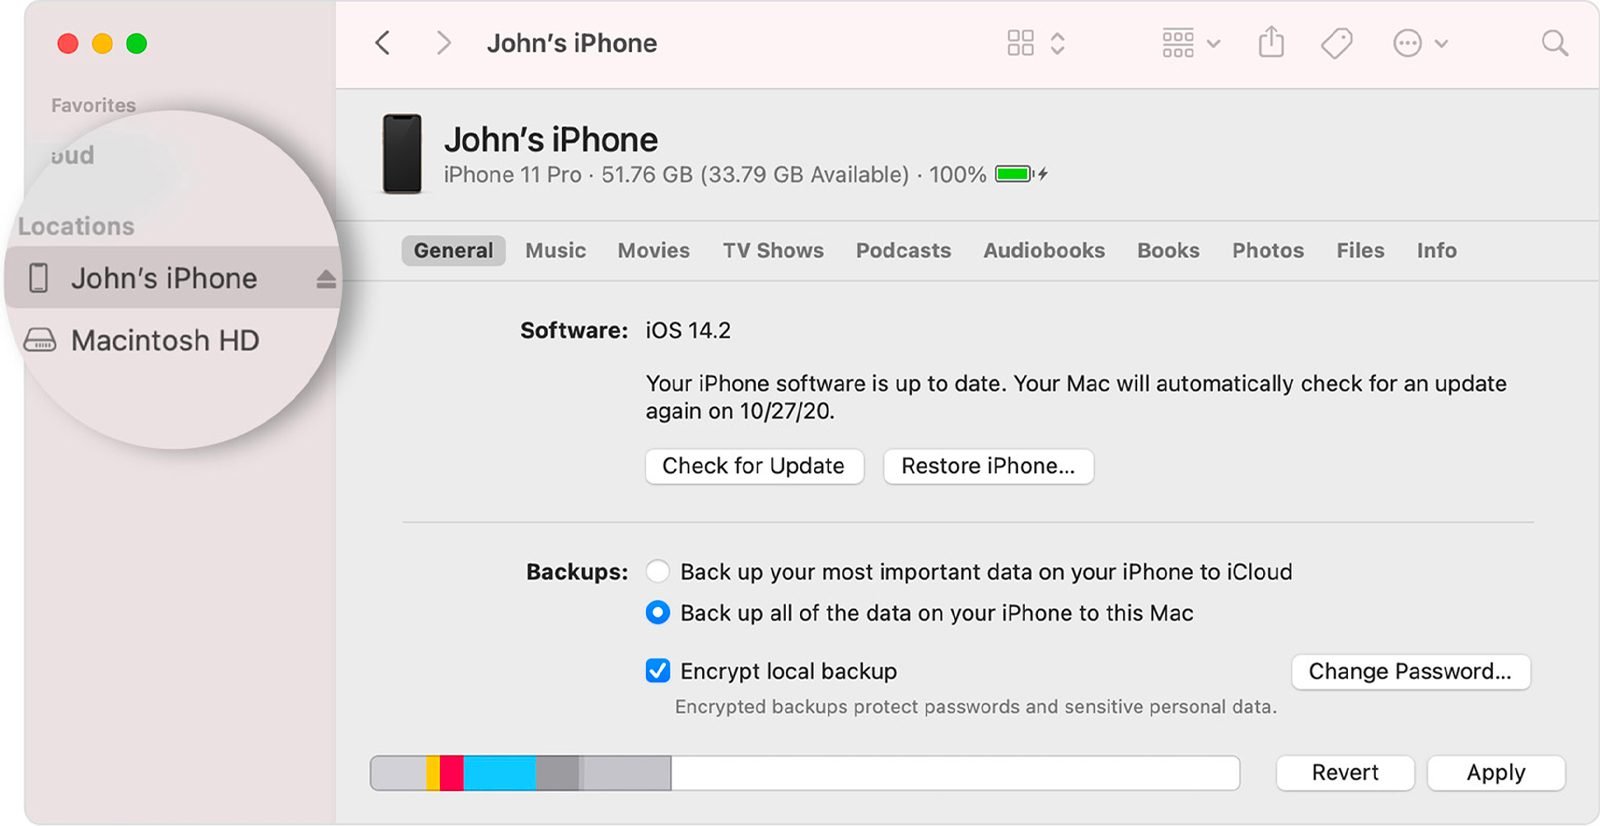
Locate your iPhone on the computer that it’s connected to. You’ll spot it either in the sidebar of Finder or in iTunes.
Step 6
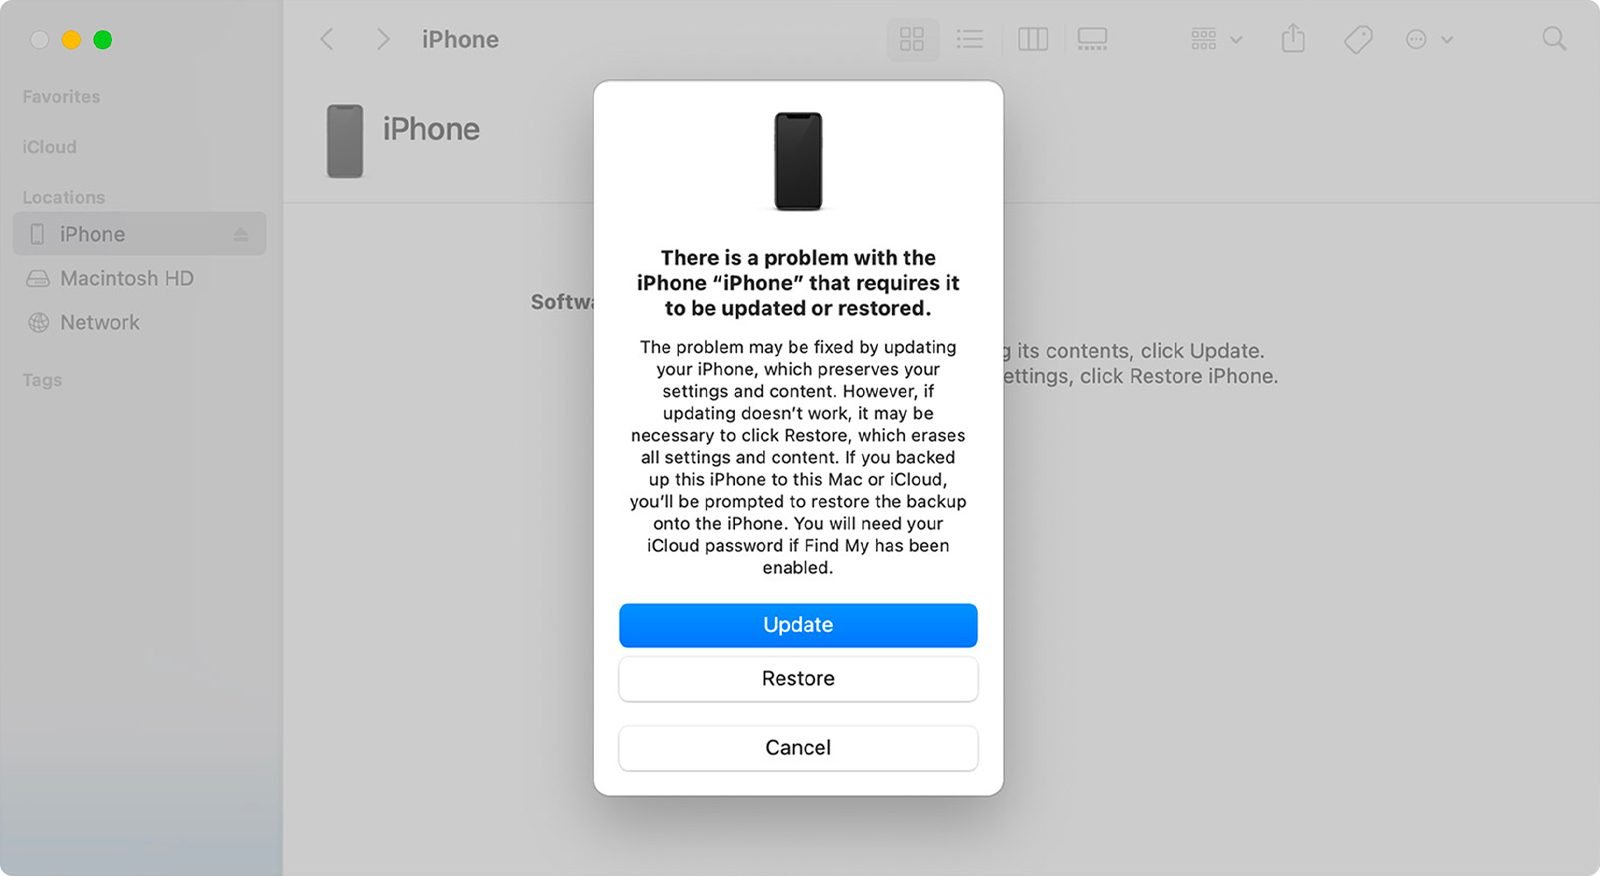
When prompted, select “Update” from the pop-up window. Your computer will automatically download new software for your iPhone and begin the restoration process without deleting your data.
Step 7
This stage is all about patience. Simply wait for the process to complete. If you’re past the 15-minute mark and your phone has left the recovery mode screen, it’s time for a redo. But wait for the download to finish first. After that, turn your phone off and start again from step one.
Step 8
If the update is successful, your iPhone should no longer be disabled. However, updating doesn’t always fix the problem. If multiple attempts at updating do not solve the problem, start over and select “Restore” when you reach the recovery mode screen. This will erase everything stored on your iPhone and return it to factory settings.
Once the factory reset is complete, disconnect your phone from the computer and follow the instructions on the screen to set it up. Then go ahead and use your newly restored iPhone. (While you’re at it, learn how to hide private photos and turn off read receipts.)
How to recover your iPhone via iCloud
If you’ve had to reset your iPhone to factory settings, your data isn’t necessarily lost: You can restore your iPhone using iCloud. Once you’ve completed a factory reset following the steps outlined above, your screen will show the same iOS welcome as a new iPhone would. Now you’re ready to recover your information.
Step 1
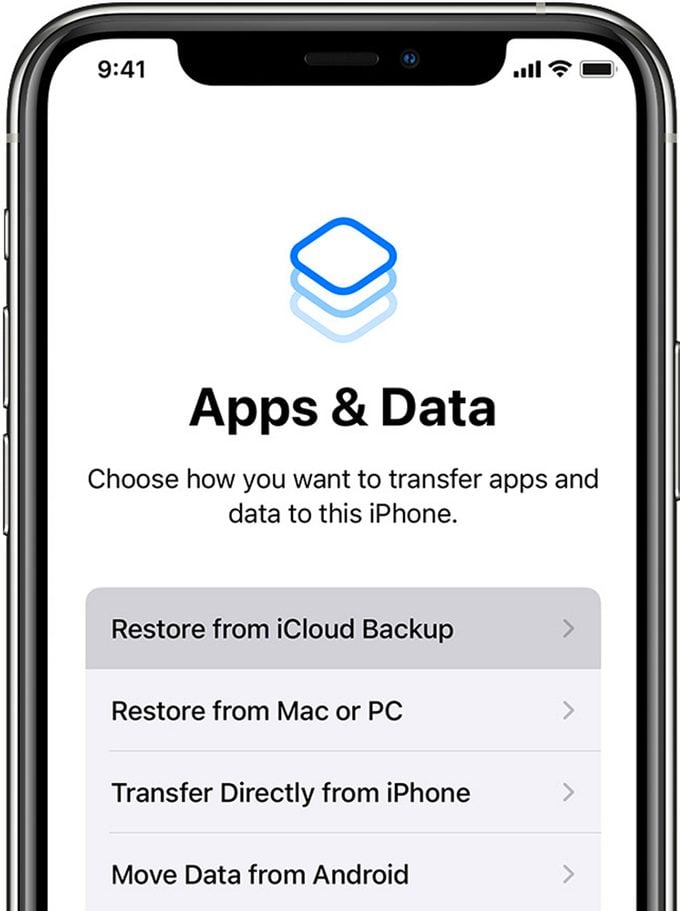
Follow the on-screen set-up steps until you reach the Apps & Data screen, then tap Restore from iCloud Backup.
Step 2

Enter your Apple ID to restore your apps and purchases. You’ll see a progress bar, which indicates the backup is underway and provides a time estimate. Stay connected to Wi-Fi and be patient—the process could take up to an hour.
Step 3
When prompted, finish the set-up process. Depending on the amount of information you have, some content—like photos, music, and even some of your apps—might continue to restore over the next hours or days. You’ll need to be connected to Wi-Fi for the process to complete.
And there you go! With those two solutions, you can restore your settings and information next time you see the “iPhone disabled” message. Next, find out how to retrieve deleted text messages on an iPhone.
Sources:


Originally Published: July 05, 2022